Showing posts with label Deep Space Nine uniform. Show all posts

May 10, 2015

Tips for Achieving an Ideal Fit

While some costumers may find a perfect fit in one of the "default" pattern sizes, it is somewhat unlikely due to variations in height, weight, build, musculature, neck size, and general physique. 

That's why we highly recommend making a muslin test or a "practice" garment of some kind (other than to familiarize yourself with its construction, that is!) - you can make the necessary sizing observations (e.g. sleeves need to be an inch longer, waist needs to be loosened, neckline needs to be taken in a bit, etc.). 

All this fitting does require extra time and effort on the part of the costumer, but the finished garment's custom-tailored look will definitely be worth it!


There are five main aspects of the garment that may need adjustment and the original pattern need be altered: the neckline, the chest, the waist, the length of the garment, and the sleeves. 

These revisions are not difficult to make, even to conform to Nemesis "hero" uniform standards, provided one remembers the appropriate points at which the garment is to be aligned and/or coordinated. 


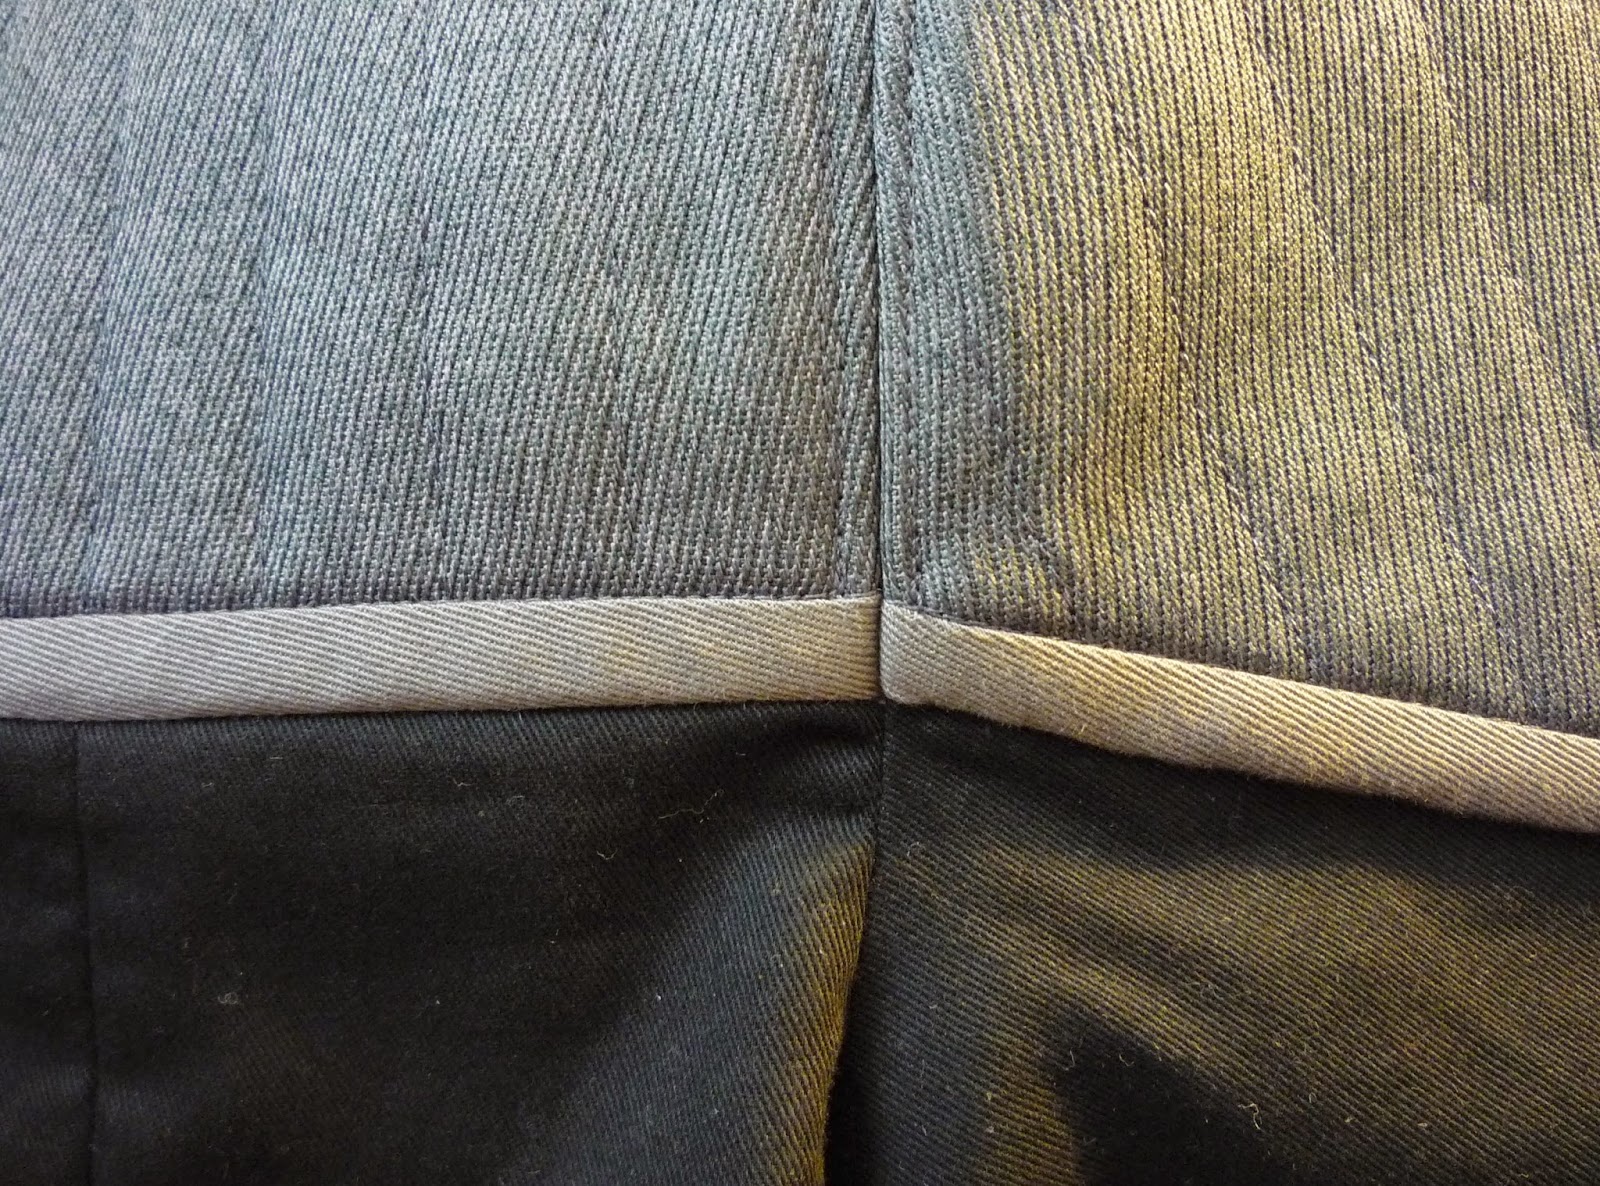
The neckline, for instance, is simply adjusted in lateral increments of half quilt-lines ... that is, it is widened (sideways) in increments of ⅜". 

The edge of the neck opening, for instance, falls exactly on a quilt line or mid-quilt line at the shoulder seam:

Quilt line
Mid-quilt line


If, for some reason, your neckline needs to be lengthened in the other direction, it is a simple matter of adding the appropriate length to the shoulder seam on each side. 

For instance, if your neckline needs to be lengthened (as opposed to widened, sideways) by ¼", simply add ⅛" to the front yoke and the back yoke on the neckline side of the shoulder seam.


The opposite would be the case if you need it let out a bit at the shoulder/armscye. 

Just remember to adjust the seamline of your shoulder point accordingly!


Adjusting the chest at the bottom of the yoke is a fairly simple matter, too.

The chest sizes of the printed pattern are graded in increments of 4 ½" - that is, one additional ¾" quilt line on each front yoke, one additional ¾" quilt line on each side of the back yoke, and ⅜" on each side of the underarm/side front/side back seam and on both sides. 

Any chest alterations - between the "default" sizes on the printed pattern, that is - are easiest to make in increments of ¾". This is most effectively done by taking in the armscye seam in by ⅜" on either the back or both front yokes (wherever there's more excess), thus moving the seam's ⅛" topstitching from on a quilt line to a mid-quilt line. 

(All of the "default" printed pattern sizes place the yokes' armscye seam's topstitching on a quilt line, as we believe it to be ideal, but as noted in the construction analysis, a mid-quilt line is acceptable.) 


In other words, the printed pattern piece will look like this in every size, in the front and the back:


But you can add or remove ¾" to or from the chest by moving the seam to a mid-quilt line, in either the front or the back:


Of course, you can add or remove 1 ½" to or from the chest by doing in both the front AND the back. 

Remember to adjust your shoulder point, side front and/or back body panels, and lining panels accordingly. 

Another option, for minute chest alterations, is the top of the side front/side back seam (under the arm) - adjusting the sleeve (and sleeve lining) accordingly, of course!


The waist is, likewise, an easy aspect of the garment to alter. 

Of course, as waist sizes vary widely amongst people, it's also, perhaps, the most likely to need adjustment. 

The waist sizes on the printed pattern are graded in increments of 3". This means that each pattern size may need up to 2 ½" or so added or subtracted to the waistline. 

The best place to take the waist in a bit is at the side front/side back seams (say, ¼" each or so). That would be ½" for each side, or 1" total.

Adding to the waist is a similar process and can be done anywhere, though the easiest place to add is, by far, the side front/side back seam. 

As is, the pieces are angled inward somewhat, but they can be adjusted as needed with relative ease. 


Remember to adjust the lining panels and the hem facings (if necessary) accordingly when modifying the waist.


On our pattern, the bottom of the jacket is 12" beneath the waistline. 

This is rather long - more like "Admiral" Patrick's or Admiral Ross' longer jacket - but it is easy to shorten if necessary! 

We actually drafted our pattern with varying jacket lengths in mind! From the waist down, the body panels are rectangular and can be shortened by any length needed. The most we expect even the shortest, stoutest person to ever need to remove from the bottom is, perhaps, 4-6", but it's really up to you and what length you feel is most flattering for your figure. 

Given how long our pattern is, it's unlikely that it will need to be lengthened, but it can be simply by adding on the necessary length to the bottom of all appropriate pieces. 

Remember, when altering the garment length, to do so by the same measurement on all body panels, lining panels, and the front/zipper facings. 


The length of the sleeves may need to be adjusted, depending on the wearer's arm length. 

This is relatively easy, however!

The sleeve length on the pattern is graded in increments of 1". 

The sleeve is wider at the top and gradually narrows toward the wrist, but the bottommost 2 ½" are a consistent width for the sleeve cuff. 

To length or shorten, simply move said 2 ½" rectangle upward or downward as needed and change the angle of the sleeve's narrowing accordingly. 


CONGRATULATIONS! 

YOU'RE FINISHED!


If you found this tutorial helpful, please support my costume research on Ko-Fi! :)


Tutorial, part 19 - Finishing

Turn the front/zipper/neckline facings outward. 

Turn the hem facings upward (including the bottom portion of the front/zipper facing).

Sew the underturned portion of the front/zipper facing to the facing along the upper and inside edges.

Hand sew the hem facings to the underlining.


Turn the front/zipper/neckline facing back under. 

Hand sew the front/zipper facing to the hem facing at the bottom of the jacket where the two overlap.


OPTIONAL: If you were unable or did not wish to serge the facing edge for some reason, or if you wish to further prevent fabric unraveling, apply liquid fray preventer to the edge you just sewed. 


OPTIONAL: To prevent your facings from flapping about, hand sew the facing/lining seam allowances to the underlining.


Pull up the bottom of the lining so the its raw edge and seam line are flush with those of the hem facing. 

Slip stitch the lining assembly bottom to the jacket bottom, matching seams and leaving the centermost edges free for the time being. 


Press the excess lining downward, forming a jump pleat. 

Slip stitch the front edge of the lining to the front facing along the lower edge and press. 


Slip stitch the sleeve lining to the sleeve at the top of the sleeve facing. 

To do this, we find it easiest to turn the bottom of the sleeve inside out and pin in place before sewing. 


Lastly, hand sew a hook-and-eye closure (or two) to the top of the front/zipper facings where the zipper was left hanging free.


PREVIOUS: Tutorial, part 18 - Lining to Body

NEXT: Tips to Achieve an Ideal Fit

Tutorial, part 18 - Lining to Body

Sew the lining assembly to the jacket assembly along the front and yoke facings, right sides together, leaving the bottommost 3-6" free. 

"Understitch" the lining to the lining/facing seam allowances along the length the lining is sewn into the jacket (not where it was left free at the bottom).

Tutorial, part 17 - Lining Assembly

The jacket's lining assembly is very simple. 

Sew the center front lining (piece R) to the side front lining (piece S). Press seam allowances open. 

Repeat for the other side. 


OPTIONAL: add pockets in a style of your choice. On the pattern, we have included recommended pocket placements for ½" by 5" welt or double-welt pockets. 

Depending on your physique, you may wish to move the pocket placements, and those with larger hands may wish to widen the pocket opening, but these should at least be a good place to start. The pocket should begin immediately below the breast, and the pocket pouch should not extend into the hem facings. 

We recommend using the shell fabric (black wool gabardine or black cotton twill) for the welts, and any fabric should do nicely for the pocket pouches; we like to use the black lining fabric, but white muslin would work well, too.


Sew center back lining (piece U) to the side back lining (piece T). Press seam allowances open. 

Repeat for the other side. 

Sew the two back assemblies together along the center back. Press seam allowances open. 

Sew the front lining assemblies to the back lining assembly at the shoulders. Press seam allowances open. 

Sew the sleeve lining to the jacket body at the armscye. Press seam allowances open. 

Repeat for other side. 

Sew the lining body and sleeves closed in the same manner as done previously with the jacket body. 


TIP: Rather than pressing the lining seam allowances open, you may instead wish to serge them together. 

TIP: The lining panels have our standard ⅜" seam allowance, but you may wish to taper them to ¼" an inch or two from the beginnings and ends of the seam lines to give the lining body some additional fullness and avoid any pulling/contorting/etc. of the garment body once the two are "married" later. 


You should have a completed lining body assembly (shown without pockets here):


Press the bottom of the lining assembly, and the bottom of the sleeve linings, upward ⅜" toward the wrong side.

Tutorial, part 16 - Shoulder Pads

The necessary loft of the shoulder pads will depend on the wearer's physique (as will the precise angle of the shoulder seam, for that matter); most non-raglan shoulder pads will work nicely, though, like these:


Place the shoulder pad inside the jacket so that the pad's long edge is flush with the jacket's armscye seam, and the pad's seam (if it has one) is flush with the jacket's shoulder seam. 

Hand-stitch the pad securely in place to the shoulder and armscye seam allowances and/or the backing layer of the quilting, being careful not to stitch all the way through the quilted layers to the outside of the garment

Repeat for the other side. 


TIP: We recommend securing the shoulder pad to the jacket in only two places: the centermost and outermost portions of the shoulder pad along the shoulder seam. This will prevent any unsightly puckering along the armscye caused by slightly misplaced or poorly sewn pads.


PREVIOUS: Tutorial, part 15 - Zipper

NEXT: Tutorial, part 17 - Lining Assembly

Tutorial, part 15 - Zipper

Cut off the excess zipper tape from the top of your jacket zipper.


Apply liquid fray preventer to the top of the zipper tape.


Unzip and separate the zipper.

Using your zipper/piping foot, sew each half of the zipper to the appropriate facing, centered underneath - ideally, so that the two lengths of gold piping are flush in the center front with no gaps. 

It may take a few tries to find the "sweet spot." 

Leave the uppermost 1" or so of the zipper hanging free - that is, do not sew it to the facing! 

Reinforce the stitching at the point where the zipper is left free. 

Using your regular sewing foot, sew the zipper tape to the body/facing seam allowance. 


OPTIONAL: For increased stability at the front center, hand sew the body/facing seam allowances (to which the zipper was just sewn) to the underlining along the length of the zipper. This will help prevent the front from pulling open and revealing the zipper.


PREVIOUS: Tutorial, part 14 - Piping and Front Facings

NEXT: Tutorial, part 16 - Shoulder Pads

Tutorial, part 14 - Piping and Front Facings

Using your zipper/piping foot, sew your ⅛" twisted/braided gold metallic piping to the entire jacket front and neckline, including hem facings, stitching close to piping.


Your jacket should now look like this: 


Sew the front yoke facing (piece L) to the back yoke facing (piece M), right sides together. 

Clip seam allowances and press open, or serge seam allowances. 

Repeat for the other side. 


Sew the yoke facing assembly to the front/zipper facing (piece K) with ½" seam allowance, right sides together.

Clip seam allowances to ¼" or ⅛" and press open. 

Serge the outer edges of the front/neckline facing assembly. 


Using your zipper/piping foot, sew the front/neckline facing assembly to the jacket body, right sides facing, matching seams and stitching close to piping. 

Turn the facings under and press. 

Your jacket should look like this - getting excited yet?

Tutorial, part 13 - Hem Facings

Sew the center front hem facing (piece G) to the side front hem facing (piece H) along the shorter edge, right sides together. Press seam allowances open and repeat for other side. 

Sew the side back hem facing (piece I) to the center back hem facing (piece J) along the shorter edge, right sides together. Press seam allowances open and repeat for other side.

Sew the front facing assembly to the back facing assembly along the sides. Press seam allowances open and repeat for other side. 

Sew the two facing assemblies together (right and left) at the center back. Press seam allowances open.


Sew the hem facings to the bottom of the body assembly, right sides together, matching seams. 

Press the hem facings upward. 

Understitch the hem facings to the seam allowance ⅛" from the bottom of the jacket. 

Tutorial, part 12 - Close Sides

With the jacket inside out, sew the body side, sleeve, and sleeve facing closed in one continuous stitch, matching seams and edges of the sleeve stripe.


Press seam allowances open.

Repeat for other side. 


Your jacket body should now look like this:


Turn the jacket right side out. 

Turn the sleeve facing upward. Its upper edge should be flush with the lower sleeve edge/sleeve stripe's seam allowance. 

Pin sleeve facing in place. 

"Stitch in the ditch" between the sleeve stripe and gold piping to secure the sleeve facing. 

Tutorial, part 11 - Sleeves to Body

Pin the sleeve assembly to the appropriate side of the jumpsuit body, matching the "center" quilt line with the shoulder seam and the lower edges of the shoulder point with the bottom of the jumpsuit body's yoke.

Baste the sleeve assembly to the jumpsuit body. 

Flip the garment around (right sides out) and inspect to confirm proper alignment of the "center" quilt line and shoulder seam, as well as the shoulder point trim with the jumpsuit body's yoke trim. 

Once satisfied with the proper alignment, sew the sleeve assembly to the jumpsuit body, using black thread for the sleeve portion and gray thread for the yoke. We recommend stitching twice for thoroughness (as done before with the yoke), as well as reinforcing at the shoulder seam and bottom of the shoulder point/yoke.


TIP: We recommend using your quilting/walking foot to baste at the three key areas (front yoke bottom, "center" quilt line/shoulder seam, and back yoke bottom) first, adjusting as necessary. Once these three intersections have been properly aligned, sew the shoulder point to the yoke, then switch to black thread and a regular foot to sew the remainder of the armscye (sleeve and lower sleeve hole). Once satisfied with the joining, stitch the shoulder point to the yoke again and reinforce at the aforementioned three key areas.


Press the armscye seam allowances open using a tailor's ham.


It's at this point that you'll be glad you clipped out the batting/backing in a few areas to reduce bulk!


As done previously with the shoulder seam, topstitch both the yoke and shoulder point ⅛" on each side of and parallel to the armscye seam, forming three parallel lines and securing the seam allowances in place.


Remember, the bottom of the armscye topstitch should meet a quilt line or a mid-quilt line on both the yoke and shoulder point, and at the shoulder seam the yoke topstitch should "peak" where the next quilt line would be.

The trims should also meet exactly.


Since it did not on the (non-recycled) Nemesis standard duty uniforms, that is what we recommend; given the plethora of stylistic revisions seen on the "hero" uniforms in that movie, it is reasonable to assume that those were intended to be the "ideal" uniform construction standards of the era. 

That said, if, for whatever reason, you wish to topstitch your jacket's yoke/shoulder point trim as well, a multitude of uniforms (jumpsuits, "captain jackets," and admiral jackets) from the era did, so the choice is yours. 


Being cut on the bias and on the outer ends of their respective assemblies, the yoke and shoulder point trims may stretch a little bit at the armscye seam.


This is obviously best avoided, but it's hardly noticeable at the end of the day, especially if you extend the armscye topstitching onto the trim.

Tutorial, part 10 - Sleeves

Fuse lightweight interfacing to the sleeve stripe (piece P). 

Cut four strips of your ⅛" twisted/braided metallic gold piping slightly longer than the long edge of your sleeve stripes (¼" to ½" overhanging each end).


Using your zipper/piping foot, sew the piping to the sleeve stripe 1" from the long edge, stitching close to piping.


Cut off excess piping at ends and liberally apply liquid fray preventer. 

Repeat for the other side of the sleeve stripe. 

Repeat for the other sleeve stripe. 


Using your regular sewing foot, stitch the cord to the sleeve stripe to prevent it from curling.


Place the sleeve stripe (piece P) on the bottom edge of the upper sleeve (piece O), right sides together and edges flush. 

Using your zipper/piping foot, sew the sleeve stripe to the bottom of the upper sleeve, with 1" seam allowance (ideally stitching over the previous stitch line). 


Turn the sleeve stripe downward (away from the sleeve) and press the seam allowance downward.


Sew the lower sleeve (piece Q) to the sleeve facing (also piece Q) along one long edge, right sides together. 

Serge seam allowances.


Turn the assembly right sides out and press. 


Unfold the two layers for now.

Using your zipper/piping foot, sew one edge the lower sleeve/facing assembly to the bottom of the upper sleeve assembly, with 1" seam allowance (again, ideally stitching over the previous stitch line). 

Turn the sleeve bottom/facing downward and press the seam allowance upward. 

The edges of the sleeve stripe seam allowances should be flush. If there's any excess, cut it off. 


OPTIONAL: Serge the sleeve stripe seam allowances. 


The underside of your bottom of your sleeve should look like this: 


Hand sew the sleeve stripe seam allowances together. 


Sew or baste the sleeve stripe and its seam allowances together within the sleeve seam allowance. 


Serge edges of sleeve. 


Your sleeve should now look like this:


Repeat for other sleeve. 


Tutorial, part 9 - Shoulder Point onto Sleeve

NOTE: If you have the original version of our pattern (the one with the full sleeve cap instead of the V-shaped top), you'll need to do a quick modification before continuing, but don't worry, it's easy! 

The original pattern had a sleeve piece that looked like this:


Using a see-through ruler, draw a new cutting line ¾" above the edges of the shoulder point alignment guide. 


Now cut out your sleeves along the new line and proceed. 


See? That wasn't bad!

All too easy.


Stay-stitch the lower corner at the top of the sleeve, where the shoulder point will be attached, about ⅝" to ¾" from the edges, and clip the sleeve vertically from the corner to the stay-stitch's pivot point.


Using your zipper/piping foot, sew the shoulder point to the sleeve with ¾" seam allowance, with the open/raw edge of the trim flush with the upper edge of the sleeve.


TIP: Place a pin in the trim, vertically, where the "center" quilt line and miter are, to mark exactly where the pivot point of the shoulder point is, and align this pin with the clip on the sleeve. Stop stitching at the bottom of corner of the shoulder point (where the pin is), then, with the needle still in the fabric, lift the presser foot and rotate the sleeve so that the other sleeve edge is flush with the remainder of the trim, lower the presser foot, and continue stitching. 


Ideally, your sleeve should look like this immediately after stitching: 


However, it'll probably look more like this ... 


And you'll feel like this: 


But don't worry! A sleeve even this "bad" can be salvaged with very little effort, and we'll show you how. 


First, flip your sleeve over so you're looking at the underside.


Press the seam allowances upward.

(Ignore the clipped seam allowances for now.)


Steam and press the area directly beneath the corner of the shoulder point. 

If steam doesn't get the job done, you may want to lightly spray a bit of water on the area and press it again. 

See how much better it already looks?

(Again, ignore the clipped seam allowances for now.)


There are basically two ways to handle the seam allowances on the underside of the shoulder point, and as far as we can tell, neither is really any better than the other. 

One way is to clip the seam allowances, as shown above, which has the advantage of reducing some bulk, which is pretty much always a plus when it comes to handling many layers on a sewing/tailoring project. 

The other is to simply fold the excess trim out of the way, which has the advantage of being slightly faster, though admittedly not by much.

It buys us, like, one second.


Whichever method you choose, pin the seam allowances upward from the right side along the upper edge of the shoulder point trim.


"Stitch in the ditch" using your quilting/walking foot and gray thread, securing the seam allowances underneath. 

Here's how the undersides will look for both methods afterward.

Trimmed
Folded


As a finishing touch, we recommend interfacing the area directly beneath the bottom corner of the shoulder point to keep it looking nice, flat, and crisp.

Cut a small, rectangular piece of lightweight or midweight fusible interfacing (about 2" x 1" or so). 

We recommend cutting it with pinking shears ("pinking" it), thus minimizing the effect of strong, linear imprints on the right side of the garment where the edges of the interfacing are, better obscuring them. 

Make sure the fabric area beneath the shoulder point is wrinkle-free, then fuse the interfacing strip to the wrong side of the sleeve. We recommend placing one of the pinked wedges directly beneath the bottom corner of the shoulder point, as high as possible.


This interfacing is a subtle touch, and, theoretically, if you've done a good job with the sleeve thus far, you might not even "need" it; here is a picture of the same sleeve before and after the interfacing was applied.

Without interfacing
Interfaced


As you can see, the difference is subtle - especially when the finished garment is worn and moving - but it is a genuine improvement and helps keep it looking nice by preventing future wrinkling beneath the shoulder point.

Repeat for the other shoulder point/sleeve.


PREVIOUS: Tutorial, part 8 - Shoulder Point Trim

NEXT: Tutorial, part 10 - Sleeves